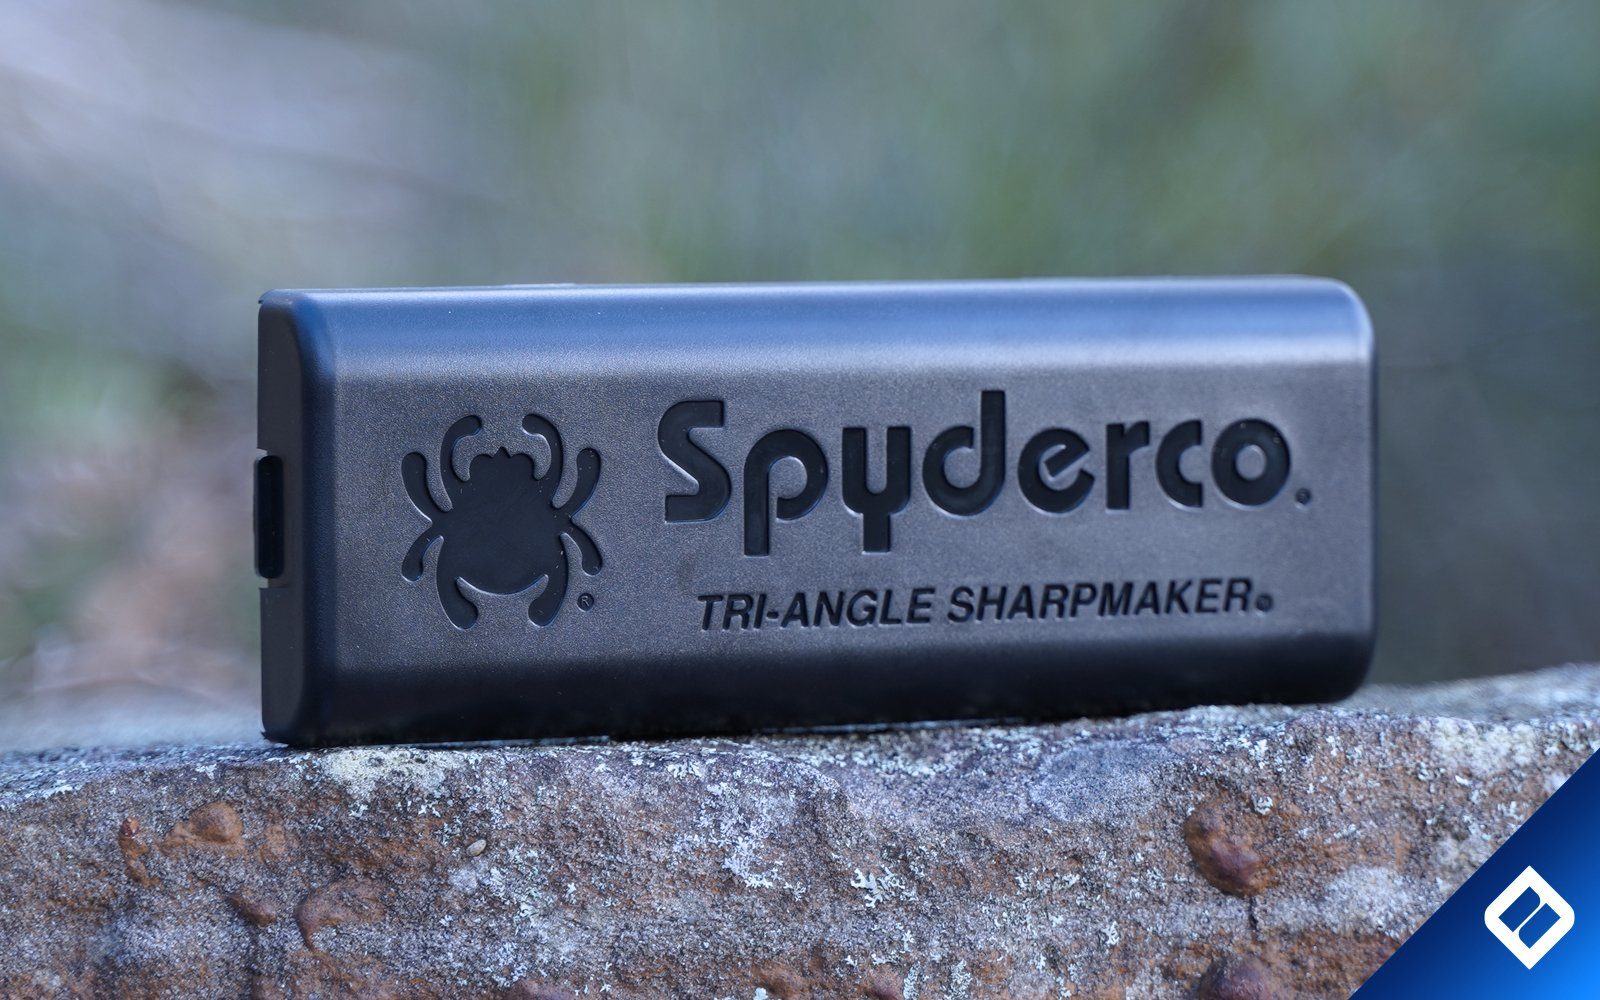
The Spyderco Tri-angle Sharpmaker is a compact sharpening tool
What do you get in the box?
The Spyderco Tri-angle Sharpmaker is presented in a glossy cardboard box with the usual Spyderco branding and feel.

Included in the box is an ABS plastic base and lid for holding the sharpening rods and also storing the rods in for travel, 2 Fine and 2 Medium grit ceramic stones, Aluminium safety rods and an instructional DVD and booklet.

These days a lot of factory edges do come with a 40° inclusive angle, but we are starting to see some thinner edges especially on Japanese kitchen knives that come with something closer to a 30° inclusive angle. That 30° angle on the Sharpmaker can also be useful if you want to thin down the shoulders behind the edge on your 40° inclusive blade.
The Sharpmaker comes set up with positions for two different main angles, both a 40° and 30° inclusive edge angle. You can see those marked on the base to let you know which side is which. One thing to note is that these Spyderco uses inclusive measurements on the base, meaning that 40° inclusive edge is the same thing as 20° per side (DPS), and 30° inclusive is the same as 15° per side (DPS)
Setting Up The Sharpmaker
The first step is to insert the Aluminium rods into the holes of the base, these will protect your hands if you happen to slip whilst sharpening.
Aluminium is soft so will not damage your blade but will still protect your hand.
Put the medium grit rods into the base of the system at the 40° mark and make sure the tips of the triangle are facing inwards for the most aggressive metal removal that the system is capable of out of the box.
Finally place the lid of the sharpening system over the unused half of the base, giving you a solid grip for your hands.
Alternatively, there are 4 countersunk holes moulded into the base, these are if you choose to hard mount the system to a work station for a more permanent setup and greater stability.
Sharpening on the Tri-Angle Sharpmaker
Begin with holding the knife in your most comfortable hand, start at the top of the sharpening rod and begin with the heel of the knife, slowly draw the knife towards the tip at the same time pushing the knife in a downwards motion while retaining the 90° angle to the table.
Repeat this on each side multiple times, start with about 20-30 strokes on each side to begin, you will get used to the motion of sharpening with practice.
Once you have done 20-30 strokes on each side, rotate the stones so that the flats are facing inward, this gives greater contact surface with the blade so the same pressure will be spread over the bevel area.
repeat the process of downward strokes on each side for 20-30 times or till you feel the edge is ready.
From this point we have a little bit more refining to do on the bevel, it should be able to cut paper easily. If it doesn’t, then repeat the above steps until it can do that task.
Once we have gotten the edge to this point, you’ll switch to the white fine stones and do the same steps again, starting with the apex of the triangle for about 20-30 strokes per side, and then switch to the flat sides for another 20-30 strokes per side.
From this point, if you have gotten your edge where it needs to be with the brown stones before moving to the white, your edge should be hair shaving sharp.
Basic steps to sharpen on the Tri-Angle Sharpmaker
- Put the brown medium grit stones with the corners facing inward in 40° slot
- Place Aluminium hand guards in the correct holes
- Hold the blade straight up and down and stroke edge of the knife in a downward motion from heel to tip on one of the stones.
- Alternate strokes 20-30 times per side on each of the Spyderco stones.
- Test the edge by cutting some newspaper.
- Change the stones so that the flat sides are facing inward.
- Alternate 20-30 strokes each side again.
- Change out the brown medium grit stones with the white fine grit stones with the corners facing inward.
- Alternate 20-30 strokes on each side.
- Rotate to the flat sides of the white fine grit stones.
- Alternate 20-30 strokes on each side.
- Test your edge on some exceptionally fine paper or arm hair.
What Are The Channels On The Back Of the System For?
On the rear of the ABS plastic stone holder, you will see some moulded channels that two stones can lay in side by side, this forms a portable bench stone surface to work on if you desire to freehand an edge with no angle guide or you have a larger knife that the normal way doesn't work for you.

What Are The Groves On One Side Of The Stone For?
On each sharpening rod there are slotted channels that run the entire length of the stone, this can be great for sharpening Darts tips, Awls for leather work, Fishhooks and even Ice picks!
What Is The Slot On The Side Of the Unit For?
Great question! this slot is to add any stone into and will be held perfectly for scissor sharpening as it is at a much wider angle, use the same method as with knives for the process.
Once you have got a burr just run one of the stones on the back side to remove it manually.

The versatility and the compact size make the Spyderco Tri-Angle Sharpmaker a top pick for portable budget sharpeners, If you are looking for a clamped guided sharpening system then brands like Hapstone, TSPROF, JENDE and Wicked Edge may be great options

